안녕하세요 이번 포스팅에서는 Bootstrap 적용과 View Function 그리고 Template에 대해서 포스팅 해 보겠습니다.
본 게시물의 소스코드는 Github에 올라가있습니다. <--링크
개발환경은 아래의 접은글에 적었습니다.
A. 개발환경
- 저는 개발을 맥에서, terminal과 vscode를 사용해서 개발 하도록 하겠습니다 :)
- 장고는 1.10 버전을 사용하고, 차후 모든포스팅이 끝났을 때 장고 2로 업데이트 하겠습니다
1. Django urls.py, views.py 연결
Django Framework를 통해서 html 페이지를 랜더링 해보도록 하겠습니다.
tweetme 폴더 아래에 views.py를 만들겠습니다.
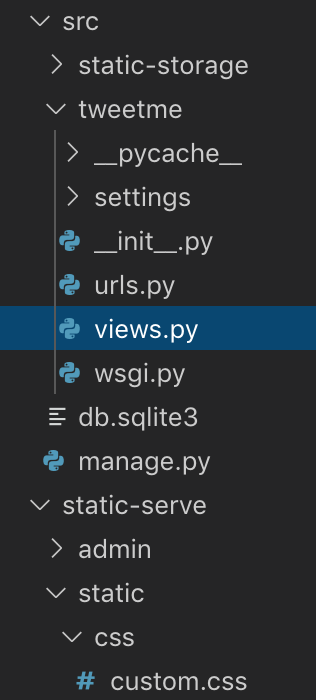
src폴더 밑에 tweetme폴더 아래에 작성 하겠습니다. views.py를 아래와 같이 작성해주세요
from django.shortcuts import render

def home(request):
    return render(request,"home.html",{})
그리고, urls.py에 들어가서 방금 작성한 home.html을 랜더링 해주는 함수를 가진 views.py를 import 해 주겠습니다.
from django.conf.urls import url
from django.contrib import admin

from django.conf import settings
from django.conf.urls.static import static

from .views import home

urlpatterns = [
    url(r'^admin/', admin.site.urls),
    url(r'^$', home, name='home'),
]

if settings.DEBUG:
    urlpatterns += (static(settings.STATIC_URL,document_root=settings.STATIC_ROOT))
from .views import home : 현재 동일 경로에 있는 views를 찾아 home을 넣어주겠다 라는 뜻입니다.
위의 import 문을 작성하신 후에, url을 home과 연결 시켜 주고 서버를 기동 해 보도록 하겠습니다.
서버 기동은 아시는 바와 같이, python3 manage.py runserver 입니다.

장고 서버를 실행시켜주고, localhost:8000/ 으로 접속하면 !!!
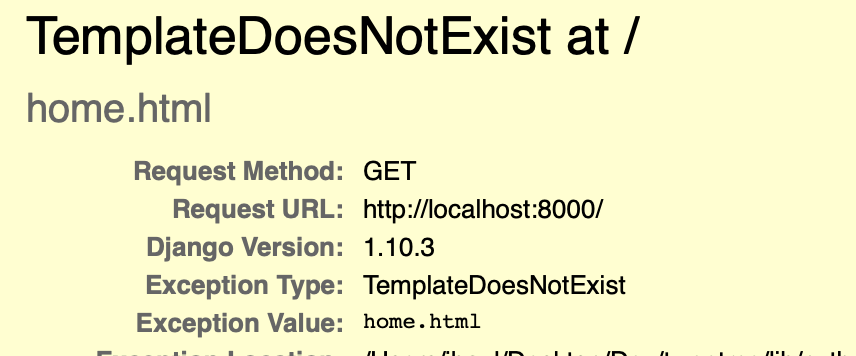
이런 에러가 발생합니다.
이유는 우리가 urls.py에서 views.py 의 home function 을 사용한다고 하고 가져왔지만, 정작 views.py의 home function이 가르키고있는 home.html이 우리 장고 프로젝트 내에 존재하지 않기 때문입니다.
그래서 TemplateDoesNotExist 에러를 뱉어내고 있습니다..
해결을 위해서 Django 프로젝트의 setting을 수정 해 주도록 하겠습니다.
2. template 생성
위의 TemplateDoesNotExist 에러를 해결하기 위해서, template의 위치를 지정 해 주도록 하겠습니다.
우선, local.py 환경세팅으로 가서 TEPLATES를 찾아주고, 'DIRS' 항목을 아래와 같이 수정 해 주도록 하겠습니다.
TEMPLATES = [
    {
        'BACKEND': 'django.template.backends.django.DjangoTemplates',
        'DIRS': [os.path.join(BASE_DIR,"templates")],
        'APP_DIRS': True,
        'OPTIONS': {
            'context_processors': [
                'django.template.context_processors.debug',
                'django.template.context_processors.request',
                'django.contrib.auth.context_processors.auth',
                'django.contrib.messages.context_processors.messages',
            ],
        },
    },
]
TEMPLATES는 templates 폴더가 어디에 위치할지 DIRS를 보고 따라가게 되는데요, DIRS에 "templates" 위치를 알려 주었으니
해당하는 위치( src 아래의 tweetme와 동일한 레벨)에 폴더와 파일을 생성 해 주도록 하겠습니다.
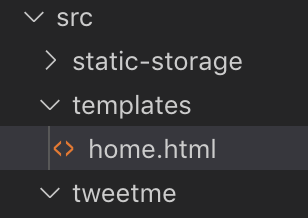
home.html 에는 아래와 같이 작성을 해 주고,
<h1>wellcome to Python Django DEV!</h1>
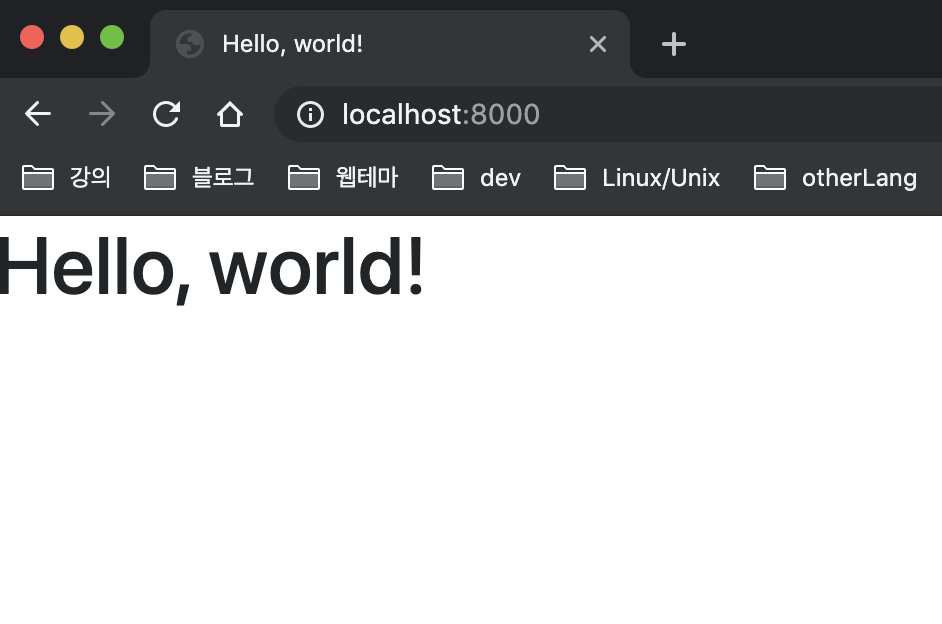
Django 서버를 재 실행 시켜 보도록 하겠습니다!

작성 해 준대로 잘 출력이 됩니다.
이제 설정 방법들을 알았으니, Bootstrap을 적용 시켜서 예쁘게 보이도록 한번 해보겠습니다.
3. Bootstrap 합치기
부트스트랩을 합쳐볼텐데요, 우선 부트스트랩 홈페이지에 들어가서 시작 해 보도록 하겠습니다.
https://getbootstrap.com/docs/4.3/getting-started/introduction/
Introduction
Get started with Bootstrap, the world’s most popular framework for building responsive, mobile-first sites, with BootstrapCDN and a template starter page.
getbootstrap.com
위의 주소로 들어가면, 부트스트랩을 처음 시작하는 사람들을 위해서 소개가 나와있습니다.
가장 기본적인 부트스트랩 코드는 아래와 같습니다.
<!doctype html>
<html lang="en">
  <head>
    <!-- Required meta tags -->
    <meta charset="utf-8">
    <meta name="viewport" content="width=device-width, initial-scale=1, shrink-to-fit=no">

    <!-- Bootstrap CSS -->
    <link rel="stylesheet" href="https://stackpath.bootstrapcdn.com/bootstrap/4.3.1/css/bootstrap.min.css" integrity="sha384-ggOyR0iXCbMQv3Xipma34MD+dH/1fQ784/j6cY/iJTQUOhcWr7x9JvoRxT2MZw1T" crossorigin="anonymous">

    <title>Hello, world!</title>
  </head>
  <body>
    <h1>Hello, world!</h1>

    <!-- Optional JavaScript -->
    <!-- jQuery first, then Popper.js, then Bootstrap JS -->
    <script src="https://code.jquery.com/jquery-3.3.1.slim.min.js" integrity="sha384-q8i/X+965DzO0rT7abK41JStQIAqVgRVzpbzo5smXKp4YfRvH+8abtTE1Pi6jizo" crossorigin="anonymous"></script>
    <script src="https://cdnjs.cloudflare.com/ajax/libs/popper.js/1.14.7/umd/popper.min.js" integrity="sha384-UO2eT0CpHqdSJQ6hJty5KVphtPhzWj9WO1clHTMGa3JDZwrnQq4sF86dIHNDz0W1" crossorigin="anonymous"></script>
    <script src="https://stackpath.bootstrapcdn.com/bootstrap/4.3.1/js/bootstrap.min.js" integrity="sha384-JjSmVgyd0p3pXB1rRibZUAYoIIy6OrQ6VrjIEaFf/nJGzIxFDsf4x0xIM+B07jRM" crossorigin="anonymous"></script>
  </body>
</html>
위의 코드를 home.html에 적용 한 후 새로고침을 하면,
위의 home.html을 잘 보면, script와 css파일이 모두 CDN 으로 링크가 걸려있는 것을 볼 수 있습니다.
이 방법은 bootstrap의 url이 잘못되거나 중지된다면 사용 할 수 없기 때문에 static 파일들을 다운받아 직접 넣어보도록 하겠습니다.
https://getbootstrap.com/docs/4.3/getting-started/download/
Download
Download Bootstrap to get the compiled CSS and JavaScript, source code, or include it with your favorite package managers like npm, RubyGems, and more.
getbootstrap.com
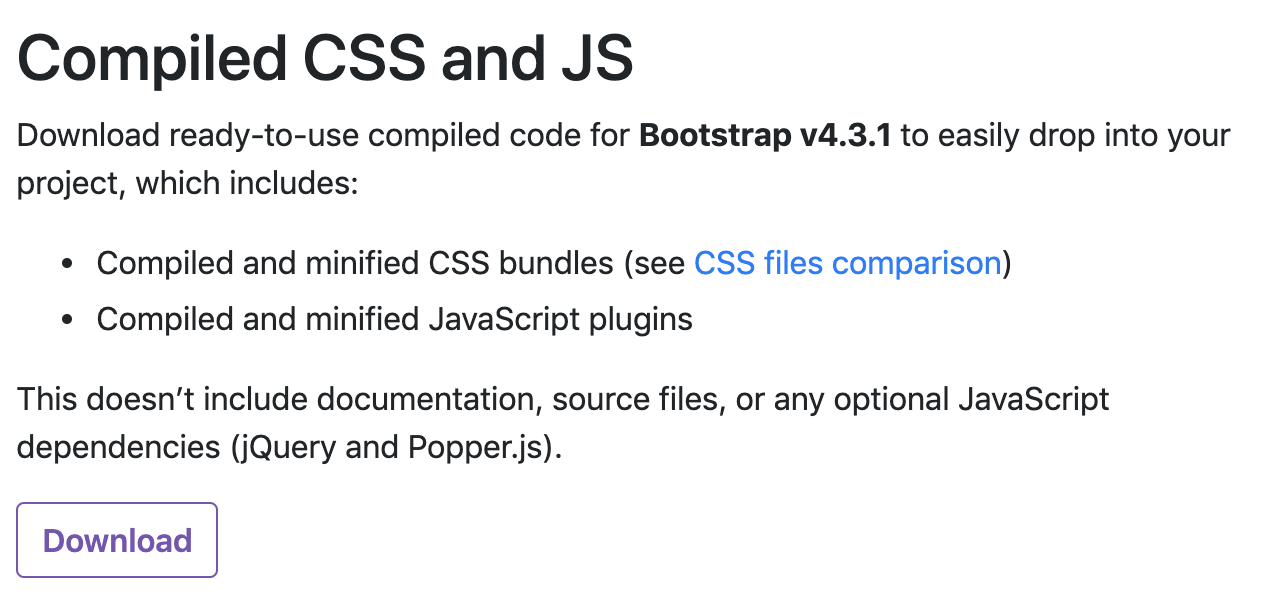
위의 주소로 들어가서, 부트스트랩을 받아보도록 하겠습니다. 현재는 4.3.1버전이고, 전체는 필요 없기 때문에 Compiled CSS and JS를 받았습니다
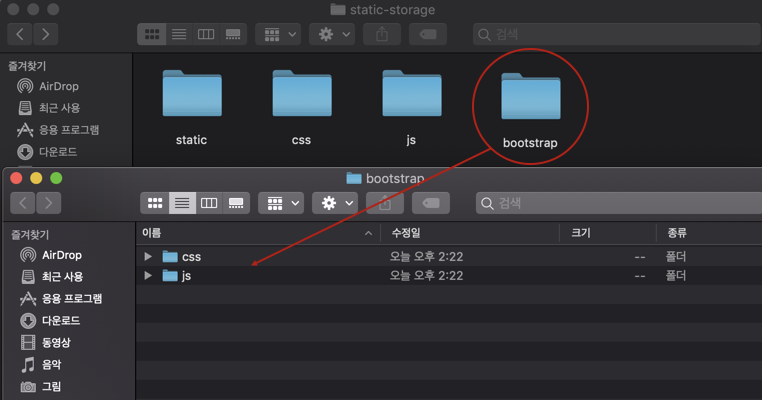
다운받아서 압축을 풀면 css와 js파일이 나오는데요 그 파일들을 static-storage에 한번 넣어주고, bootstrap이라는 폴더를 만들어서 한번 더 넣어주도록 하겠습니다.
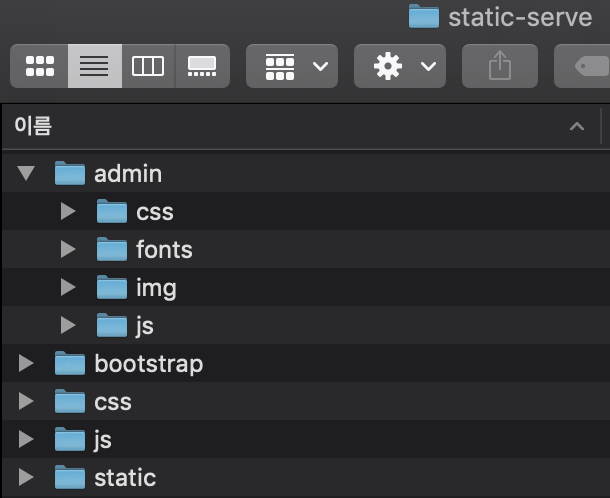
그런 후에 static 파일들을 모아주는 명령어를 실행하도록 하겠습니다.
python3 manage.py collectstatic

방금 복사 해 준 파일들이 static-serve에 있는지 확인 하면 저장은 완료 된 것입니다!
4. include template tag
static 파일을 모아줬으니까 이제 태그를 사용해서 파일들을 불러와 사용하겠습니다.
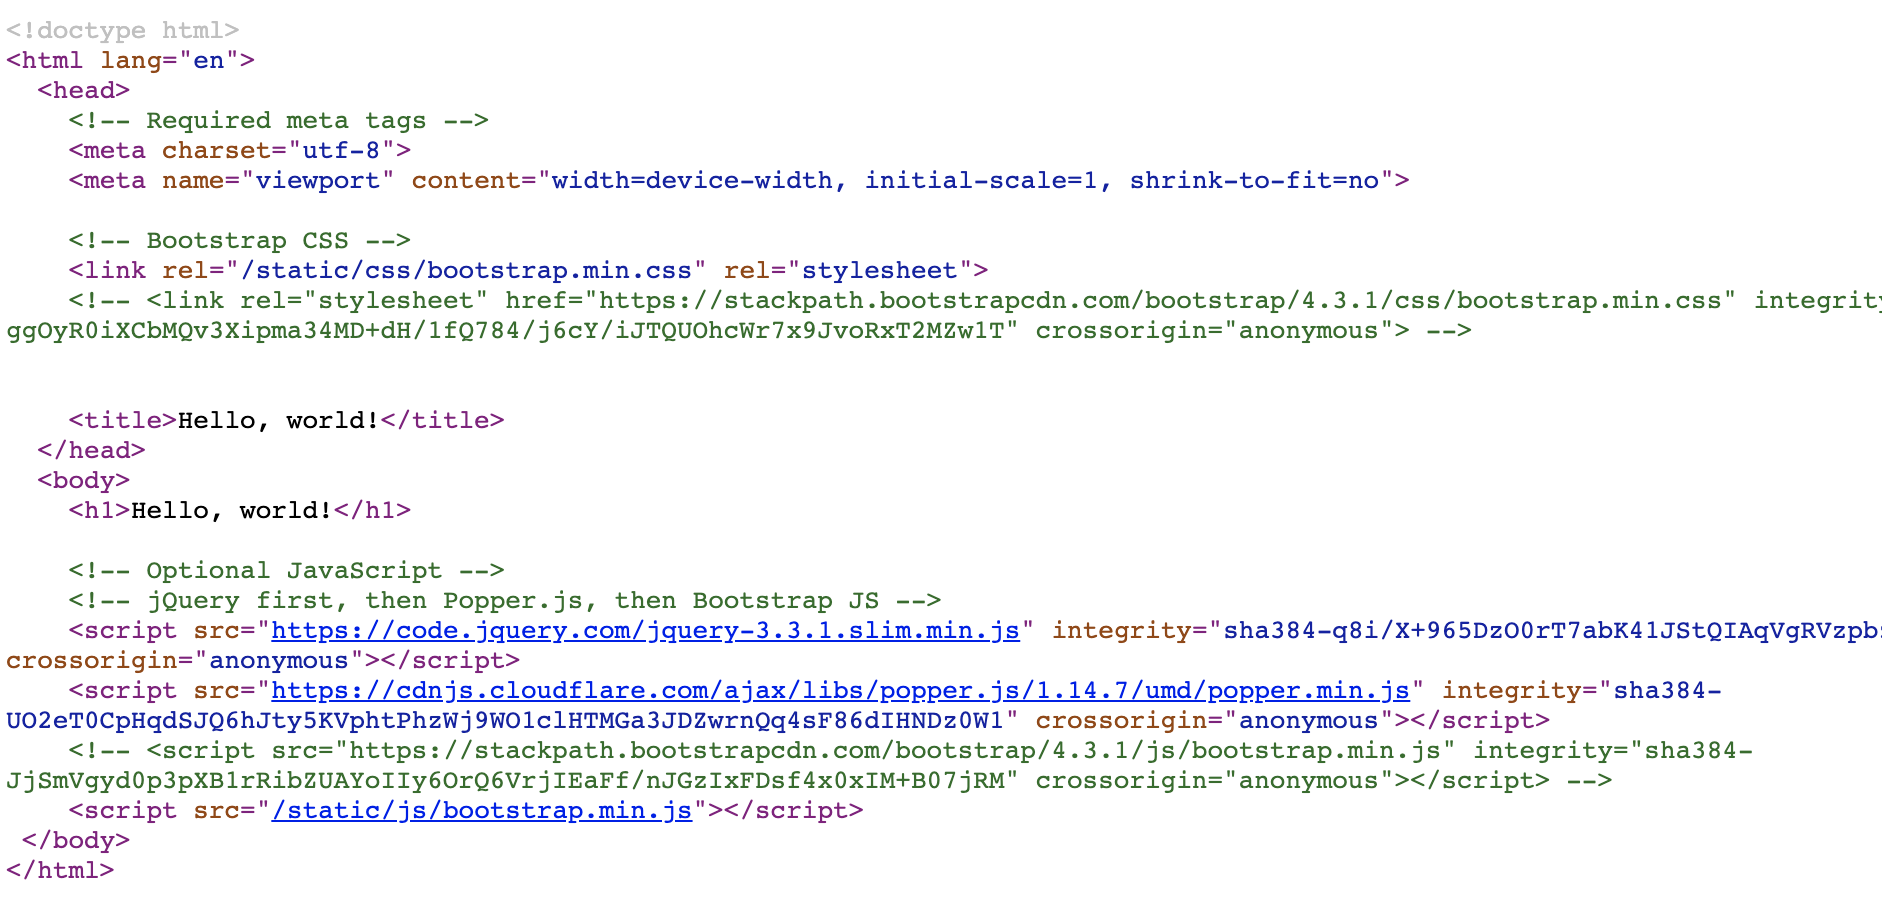
home.html을 아래와 같이 수정해주세요
{% load static %}
<!doctype html>
<html lang="en">
  <head>
    <!-- Required meta tags -->
    <meta charset="utf-8">
    <meta name="viewport" content="width=device-width, initial-scale=1, shrink-to-fit=no">

    <!-- Bootstrap CSS -->
    <link rel="{% static 'css/bootstrap.min.css' %}" rel="stylesheet">
    <!-- <link rel="stylesheet" href="https://stackpath.bootstrapcdn.com/bootstrap/4.3.1/css/bootstrap.min.css" integrity="sha384-ggOyR0iXCbMQv3Xipma34MD+dH/1fQ784/j6cY/iJTQUOhcWr7x9JvoRxT2MZw1T" crossorigin="anonymous"> -->


    <title>Hello, world!</title>
  </head>
  <body>
    <h1>Hello, world!</h1>

    <!-- Optional JavaScript -->
    <!-- jQuery first, then Popper.js, then Bootstrap JS -->
    <script src="https://code.jquery.com/jquery-3.3.1.slim.min.js" integrity="sha384-q8i/X+965DzO0rT7abK41JStQIAqVgRVzpbzo5smXKp4YfRvH+8abtTE1Pi6jizo" crossorigin="anonymous"></script>
    <script src="https://cdnjs.cloudflare.com/ajax/libs/popper.js/1.14.7/umd/popper.min.js" integrity="sha384-UO2eT0CpHqdSJQ6hJty5KVphtPhzWj9WO1clHTMGa3JDZwrnQq4sF86dIHNDz0W1" crossorigin="anonymous"></script>
    <!-- <script src="https://stackpath.bootstrapcdn.com/bootstrap/4.3.1/js/bootstrap.min.js" integrity="sha384-JjSmVgyd0p3pXB1rRibZUAYoIIy6OrQ6VrjIEaFf/nJGzIxFDsf4x0xIM+B07jRM" crossorigin="anonymous"></script> -->
    <script src="{% static 'js/bootstrap.min.js' %}"></script>
 </body>
</html>
{% load static %} 은 local.py에 세팅 되어있는 STATIC_URL의 경로를 받아와서 로드 해 주는 역할을 합니다.
따라서, STATIC_URL이 ='/static/' 으로 되어있고 html 내에서 {% static ..... %} 이라고 쓰게 된다면 실제로 웹 상에서는 /static/...... 으로 보여지게 됩니다.
실제로 되는지 서버를 실행시켜 확인 해 보면,
위처럼 보여지는 것을 확인 할 수 있습니다!
이것을 이용해서 경로를 실수하지 않고 이어줄 수 있습니다.
지금까지 총 4개의 포스팅 동안 tweetme 의 core 세팅을 했는데요, 다음포스팅 부터는 tweetme App을 실제로 만들어 웹서비스를 시작 해 보도록 하겠습니다
'Old Branch' 카테고리의 다른 글
| [React-Native] React-Native 입문기 - Debug 와 첫 화면 작성하기 (0) | 2019.10.16 |
|---|---|
| [React-Native] React-Native 입문기 - iOS, Android 설치 및 실행 (4) | 2019.10.15 |
| Django - tweetme 소셜서비스 구현해보기 (3) - static file 설정 (0) | 2019.10.02 |
| Django - tweetme 소셜서비스 구현해보기 (2) - setting 환경 나누기 (0) | 2019.10.01 |
| Django - tweetme 소셜서비스 구현해보기 (1) - Django Setup (0) | 2019.09.30 |